
Ideas for better growth
How to Add a Before and After Image Slider
Chris Content · · 5 min read

Show transformations credibly with a draggable before and after comparison: shooting matched pairs, avoiding misleading edits, and keeping it fast and accessible.
A before and after slider is one of the most persuasive elements available to a service business - renovation, cleaning, dentistry, salons, restoration, photo editing, landscaping. It is also one of the easiest to make look dishonest.
This guide covers how to shoot pairs that hold up to scrutiny, present them credibly, and keep the widget fast and usable.
Why the slider beats two side-by-side photos
Two photos placed next to each other ask the viewer to compare mentally. A slider makes the comparison physical: the same pixels, the same frame, one variable changed. The viewer controls the reveal, which makes the result feel discovered rather than claimed.
That is exactly why the pair has to be honest. A slider invites close inspection, and a mismatched pair is obvious.
Step 1: Shoot a matched pair
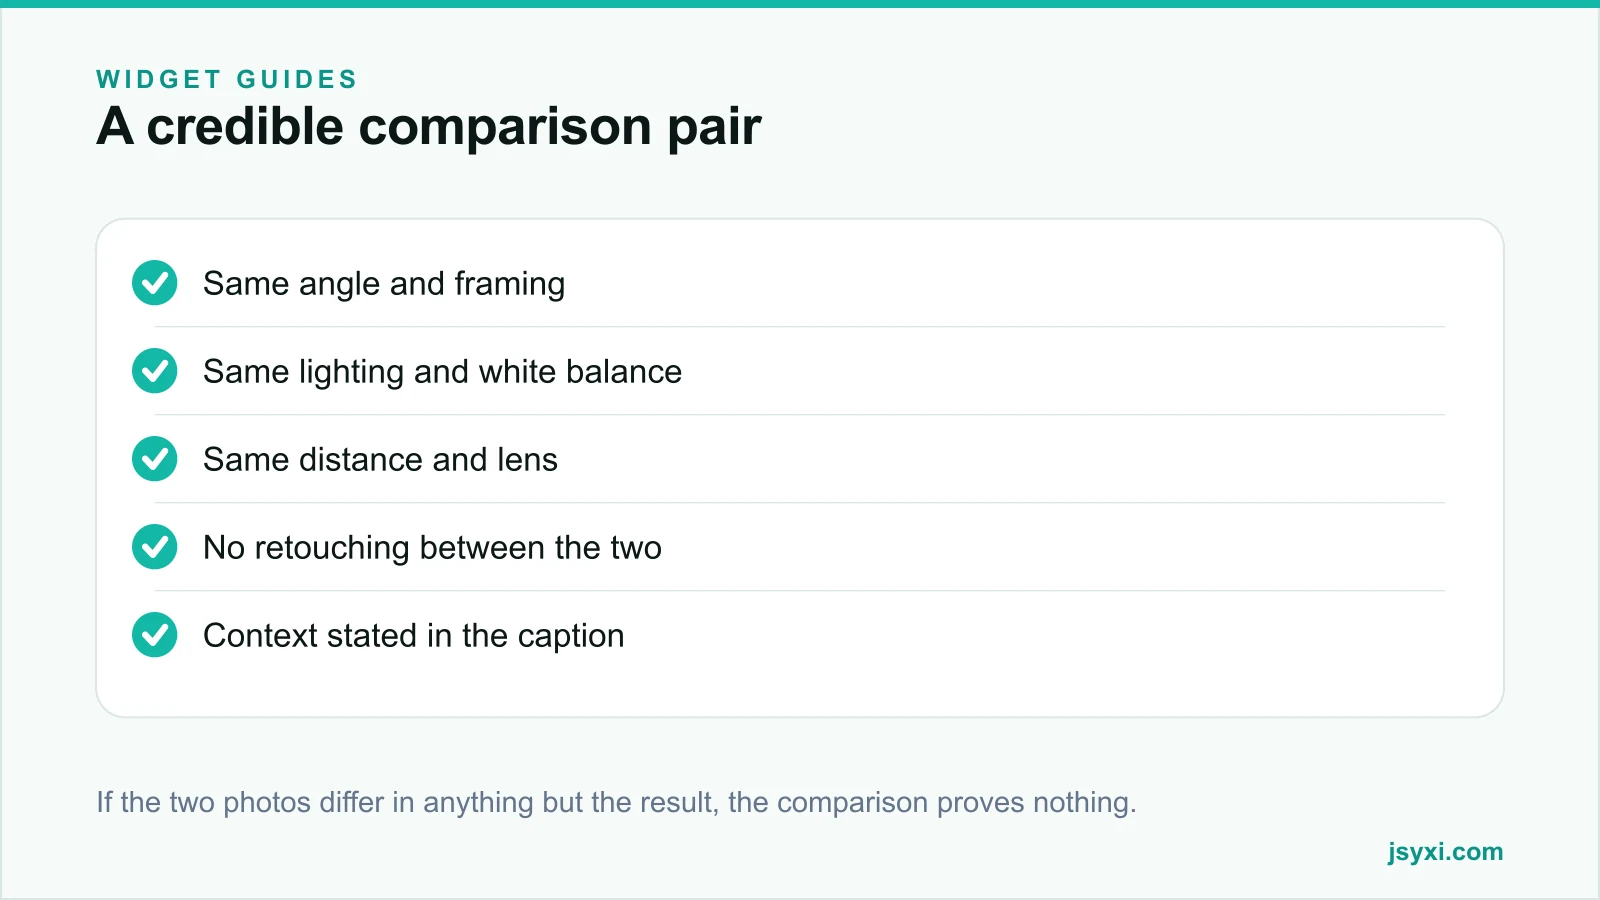
The single rule: everything except the result must be identical.
- Same position. Mark the spot on the floor. Use a tripod if you have one.
- Same framing and lens. Note the focal length. A wider shot after a renovation exaggerates space.
- Same lighting. Shoot at the same time of day, with the same lights on and curtains in the same position.
- Same white balance and exposure. A warmer, brighter "after" is doing work the service did not do.
- Same tidiness, except for the result. Removing clutter between shots is a different claim.
If you cannot reshoot the before, say so. "Before photo supplied by the customer" is credible. A polished after next to a phone snapshot in bad light is not.
Step 2: Do not retouch across the pair
Editing is where credibility dies:
- Apply identical processing to both frames, or none
- Never sharpen, brighten, or colour-grade only the after
- Never remove objects from the after that were present before, unless removing them was the job
- Do not crop differently
If you would be uncomfortable showing the raw files, do not publish the comparison.
Step 3: Add context in the caption
The images show what changed. The caption explains what it means:
- What the work was
- How long it took
- Any relevant constraints - budget band, room size, condition
- Whether results vary, and why
For regulated categories such as dental, cosmetic, or medical services, follow the advertising rules that apply in your market, including any required disclaimers about individual results. Our guide on trust signals covers the general principle: claims and evidence must sit next to each other.
Step 4: Add the slider without touching your theme
The Before / After widget provides the draggable comparison. Upload the pair, set the starting handle position, add labels, publish, and paste the embed line onto the page.
Configure:
- Orientation. Vertical handle for side-to-side changes, horizontal for top-to-bottom.
- Start position. Around 50 per cent, or slightly toward "before" so the improvement is discovered.
- Labels. Explicit "Before" and "After" markers, so the direction is never ambiguous.
- Aspect ratio. Identical for both images, and reserved in the layout so nothing shifts.
Place it with the embed snippet guide.
Step 5: Make it work on touch and keyboard
A drag interaction has real accessibility risk:
- The handle must be draggable by touch with a generous target
- Dragging the handle must not scroll the page, and scrolling the page must not move the handle
- Keyboard users need arrow-key control with a visible focus state
- Provide a non-drag fallback, such as a tap to toggle, for anyone who cannot drag
- Give both images meaningful alt text describing each state
Test it one-handed on a phone while scrolling past. If the page gets stuck, visitors will leave rather than fight it.
Step 6: Protect page speed
Two full-size images per comparison adds up quickly on a portfolio page:
- Compress both images and serve modern formats
- Size them for display, not for print
- Lazy load every comparison below the fold
- Reserve the aspect ratio so the layout never jumps
- Limit a page to a handful of comparisons and link to more
See our image optimization guide for the workflow, and Core Web Vitals with widgets for the measurement.
Step 7: Place it where the doubt lives
A comparison answers "will this work for something like mine?". Put it where that doubt appears:
- On a service page, beside the description of that specific service
- In a portfolio entry, alongside scope and duration
- On a landing page, above the enquiry form
- Near a testimonial from the same customer, so the evidence compounds
Pair it with the Portfolio widget when each project needs its own detail view, and with a contact form so the impressed visitor has somewhere to go.
Common mistakes to avoid
- Different angles. The most common and most obvious tell.
- Brighter after. Lighting changes read as manipulation.
- No context. A result without scope, time, or cost is not evidence.
- Huge uncompressed images. Two heavy files per comparison, several comparisons per page.
- Drag-only interaction. It locks out keyboard users and frustrates people scrolling on a phone.
Frequently asked questions
How do I make before and after photos look credible?
Shoot from the same position with the same framing, lens, lighting, and processing, and change only the result. State the context in a caption. If the before photo came from the customer, say so.
Can I edit before and after images?
Only identically, and only in ways that do not change what is being claimed. Any edit applied to one image and not the other makes the comparison misleading.
Where should before and after sliders go on a page?
Immediately beside the claim they support - within the relevant service description or portfolio entry - and above the enquiry action, so a convinced visitor can act without hunting.
Are before and after images allowed in regulated industries?
It depends on your market and category. Medical, dental, and cosmetic advertising often carry specific requirements about disclaimers, consent, and typicality of results. Check the rules that apply to you before publishing.
Next steps
Reshoot one project pair properly - same spot, same light, same processing - and publish it with the Before / After widget. Add a caption with scope and duration, and place it directly beside the service it proves.
Start free and show your work honestly.